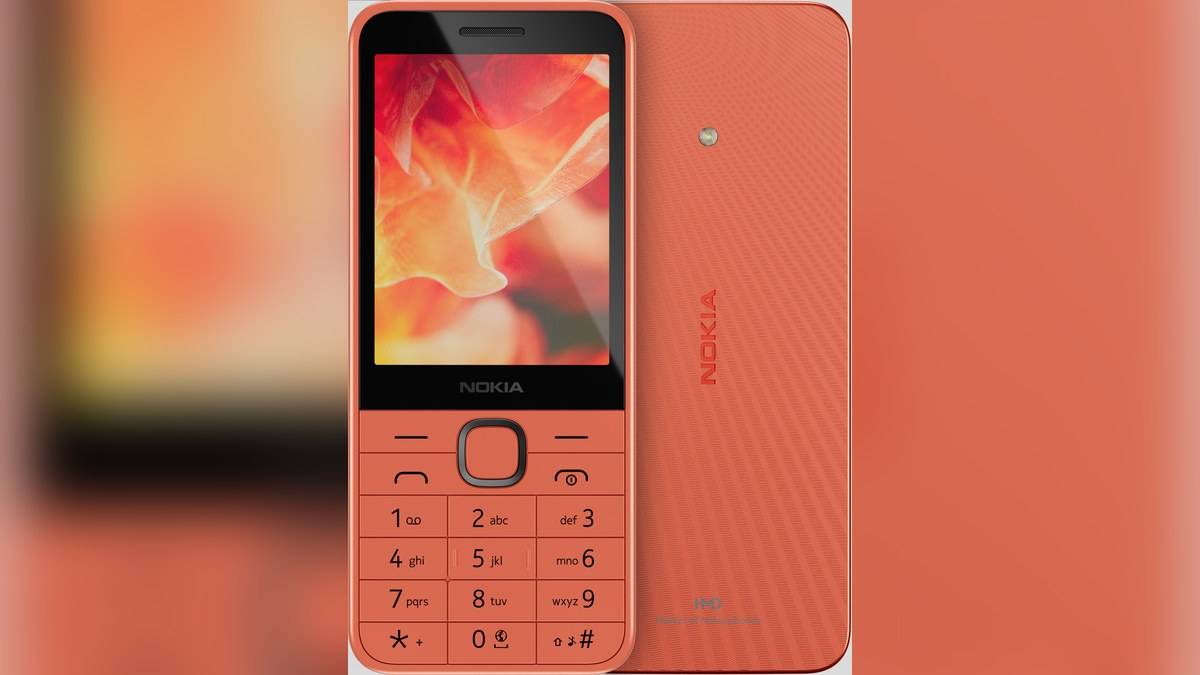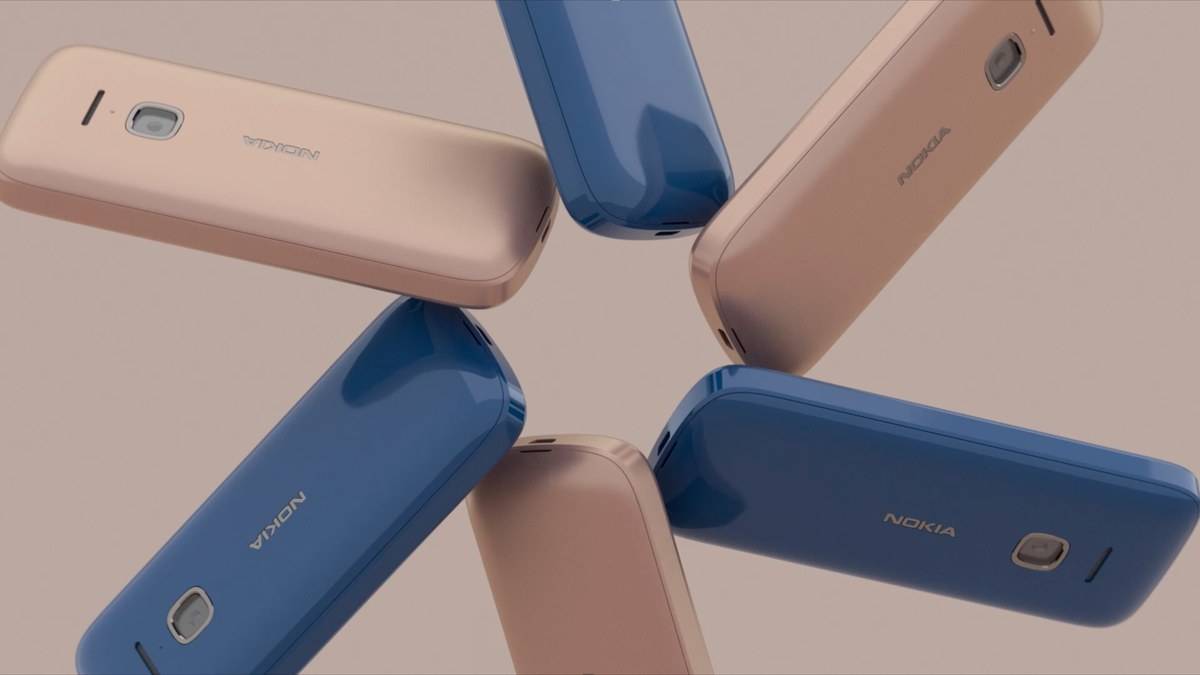
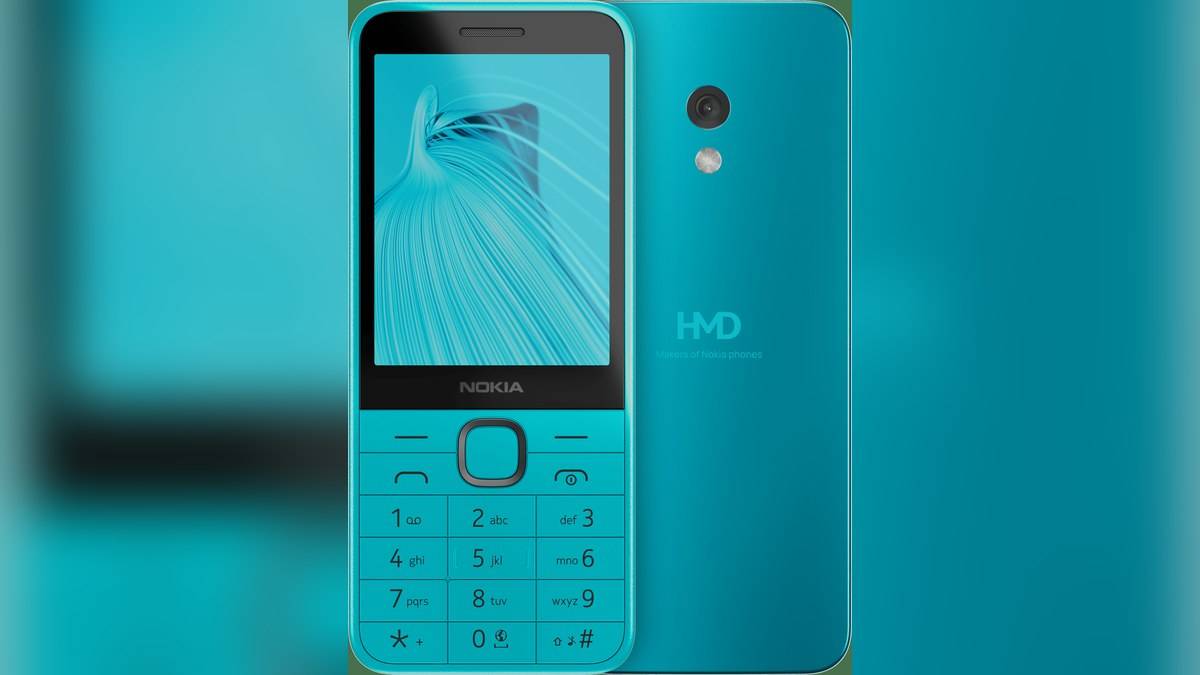
NEW DELHI: Nokia 235 4G owners can take a photograph by opening Menu, selecting Camera and pressing the scroll key, according to HMD's official India user guide. The phone has a 2MP rear camera and LED rear flash. Photos are reviewed through Gallery, while recorded clips are accessed through Videos, an important distinction when learning the keypad controls.
| Camera or storage check | Official detail |
|---|---|
| Rear camera | 2MP |
| Rear flash | LED |
| Photo capture | Press scroll key in Camera |
| Photo review | Menu > Gallery |
| Clip review | Menu > Videos |
| Storage | 128MB internal, microSD support up to 32GB |
Learn the camera controls on the handset
Open the camera from Menu and use the scroll key as the capture control. HMD says scrolling up or down changes zoom. Start with a practice photograph of an ordinary object, then return to the home screen and open Gallery. That checks both taking the picture and finding it afterwards.
The sequence is worth rehearsing for someone who mainly uses the phone for calls. A camera icon can make capture seem obvious, but reviewing the result uses a different menu destination. Let the regular owner complete both actions without the helper taking the handset back midway through the demonstration.
This model places a camera in a conventional keypad body with a removable battery and USB Type-C. Its appeal as a simple phone does not tell the owner how to manage photographs. A short, successful capture-and-review exercise is more useful at handover than reciting the megapixel figure alone.
The Nokia 235 specification is particularly useful alongside the Nokia 220 4G sheet: the 235 explicitly lists a 2MP rear camera and LED flash, while the 220 imaging section lists a torch. A similar keypad shape is therefore insufficient reason to assume the same imaging specification. Check the named model before demonstrating capture.
Keep video recording and photo review distinct
The official video instructions begin inside Camera, where the user scrolls to the video-camera option. Pressing the scroll key starts recording. The guide represents the stop control with an icon, so use the stop symbol shown on the handset rather than relying on an invented text label or assuming a smartphone-style red button.
After stopping the clip, go to the home screen and open Menu, then Videos. If the clip is not visible in Gallery, first check the destination specified by the guide. Avoid immediately concluding that the recording failed or starting a reset just because the owner looked in the photo-review menu.
When practising, make a brief clip, stop it deliberately and confirm it can be found. Then repeat the exercise once without help. This checks the complete task rather than just whether the recording screen appeared. It also gives the owner a familiar example to recognise when opening Videos later.
Read the storage limit before adding a card
The India specification sheet lists 128MB internal storage and 64MB RAM. It warns that system software and preinstalled apps occupy a significant part of memory. The internal figure should therefore not be read as the amount of empty space available for photographs and clips on a newly set-up handset.
For expansion, HMD lists microSD support up to 32GB. The setup guide recommends a fast card from a well-known manufacturer within that capacity limit. The reviewed pages do not state a guaranteed number of photographs or minutes of video that a particular card will hold, so no such capacity estimate is attached here.
Before opening the cover, switch off the device and disconnect its charger and other connected equipment. The illustrated setup sequence removes the back cover and battery, slides the memory card into its slot, then refits the battery and cover. Follow the handset diagram rather than forcing a card into a slot whose purpose is unclear.
Keep expectations tied to confirmed specifications
A 2MP rear-camera listing establishes the advertised still-camera resolution. It does not establish the video resolution, frame rate or the quality of a photograph in a particular scene. The sources reviewed here do not provide those video figures. Owners should judge whether the result serves their purpose by examining their own test image and clip.
The specification sheet confirms an LED rear flash, but this guide does not invent a flash-setting path or promise automatic behaviour. Likewise, the camera chapter's zoom instructions do not establish a numerical zoom range. Keeping these details separate prevents a basic menu tutorial from becoming an unsupported performance claim.
For other keypad designs, see our Nokia 3210 and Nokia 5310 comparison. Our Nokia 150 card and camera explainer concerns that handset's storage requirements. The existing Nokia 235 4G listing provides separate model coverage.
When handing the phone over, leave a short note with the owner: Camera for capture, Gallery for photographs and Videos for clips. This records the distinct destinations in the official guide and gives the user a simple reference without making them repeat the whole camera lesson.
Official references: Nokia 235 4G camera instructions, India specifications and memory-card setup guide.