NEW DELHI: Nokia 225 4G users can set separate preferred SIM cards for calls, messages and mobile data, rather than treating the handset as if every task must use the same connection. HMD's official guide places these choices under Connectivity and Dual SIM. It also lets owners rename the cards, a useful first step when the phone carries a personal number and another connection.
| Task | Official menu choice |
|---|---|
| Calls | Preferred SIM for calls |
| Messages | Preferred SIM for messages |
| Data | Mobile data connection > Preferred SIM |
| Card labels | SIM settings > SIM name |
| India specification model | TA-1289 |
| Battery and USB | 1150mAh; Micro USB (USB 2.0) |
Match the guide before changing defaults
The official India specification sheet identifies TA-1289 in its additional details. The Nokia 225 4G user guide covers that model alongside other regional codes. Check the handset paperwork against that guide, especially if an online result uses the same Nokia name for a different generation. Similar naming is not enough to establish identical menus.
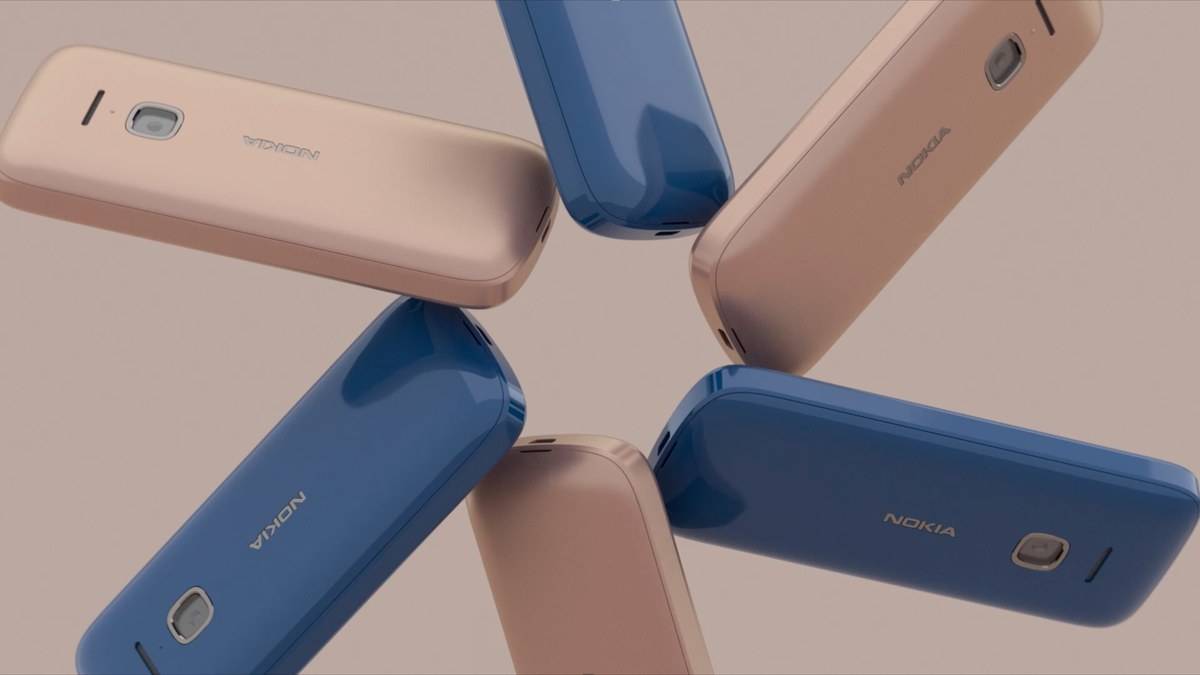
This handset combines a physical keypad with a built-in camera, wireless FM and a curved back. Its setup task is therefore quite different from adding an account to an Android smartphone. Follow the handset's own Connectivity menu rather than searching for an Android SIM manager or assuming a touchscreen tutorial will match.
Name the cards before assigning jobs
Open Menu, then the settings icon, Connectivity and Dual SIM. The guide's text shows an icon in the settings position, so use the symbol displayed on the handset. Within Dual SIM, open SIM settings, select the relevant card and choose SIM name to give it a recognisable label.
Use labels that will still make sense after the setup session. “Personal” and “Work” are possible examples, provided they accurately describe the owner's use. If the owner instead recognises a number by its network or final digits, agree a naming scheme around that. These are suggested labels, not names imposed by the phone.
The original context here is a keypad phone that may be handed between a helper and its regular user during setup. A clear card name can make a small menu easier to interpret without relying on someone remembering which physical slot was filled first. Ask the owner to explain the labels back before setting preferences.
Choose calling, messaging and data separately
For outgoing calls, use Preferred SIM for calls. For texts, use Preferred SIM for messages. The data setting sits under Mobile data connection, followed by Preferred SIM. Review each entry deliberately. Changing the preferred calling connection should not be treated as proof that the messaging and data preferences have also been changed.
Write down the intended arrangement before tapping through the menu: which number should other people see for calls, which connection should send messages, and which should supply mobile data. That short plan is especially helpful when keeping an older familiar number alongside a second connection intended for another purpose.
The menu choices do not establish the tariff or balance on either SIM. Check those separately with the relevant operator before relying on the arrangement. This guide explains how the Nokia assigns a task to a connection; it does not promise a particular recharge benefit or that choosing a preferred SIM makes the task free.
Test a real call and check the saved number
The calls chapter says to type the number and press the call key, choosing a SIM if prompted. For an international-format number, pressing the asterisk key twice enters the plus sign. End the call with the end key. A brief test with a known contact is more useful than assuming the selected preference is understood by the owner.
Then check the address book. The contacts chapter allows saving a number from the call log through Add to Contacts and New contact. Enter a recognisable name and check the digits before confirming. Keep this separate from SIM preference setup: a correctly selected connection cannot fix a wrongly saved telephone number.
Readers managing other keypad models can compare our Nokia 215 4G dual-SIM setup guide and Nokia 105 Classic variant explanation. Those articles concern their own models and should not replace the Nokia 225 menu instructions above.
Before finishing, ask the owner to show where calls, messages and data are assigned in the Dual SIM menu. Repeating the check after naming the cards tests whether the labels are understandable. It also leaves a clear arrangement to revisit if either connection is replaced later.
For another keypad model, see our Nokia 8210 4G coverage as another feature-phone reference. Official sources: Nokia 225 4G SIM preferences, contacts instructions and India specifications.