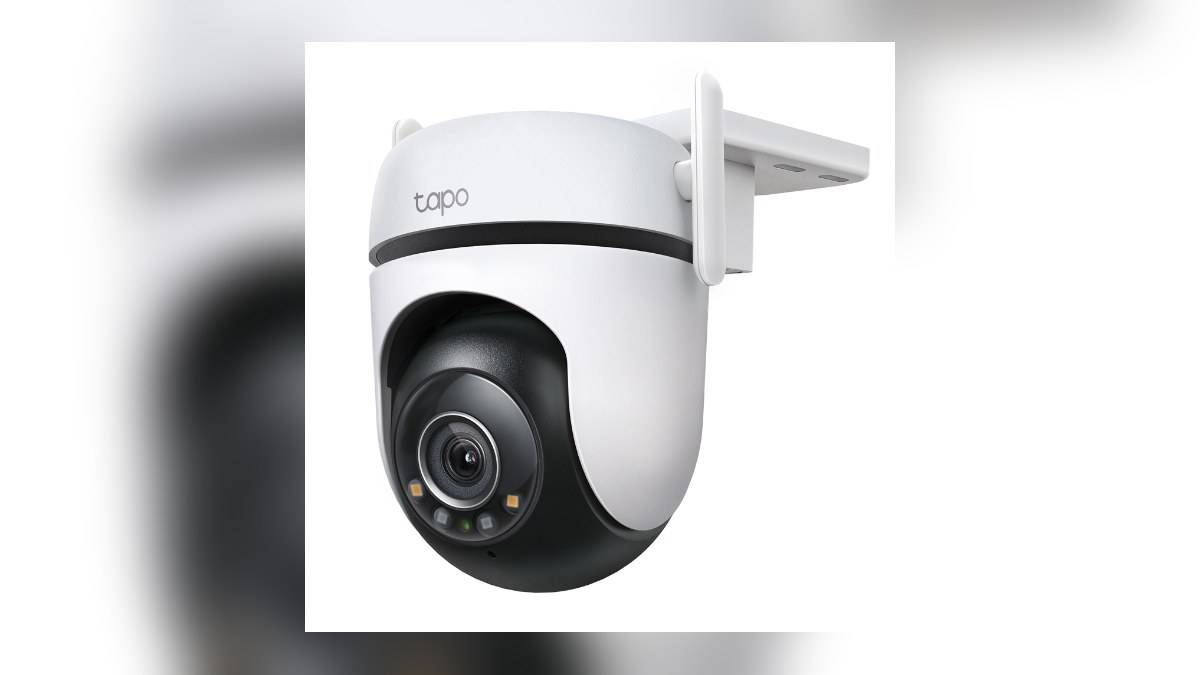
NEW DELHI: The Tapo C520WS carries an IP66 weather-resistance rating, but its outdoor installation still needs the supplied connector seals. TP-Link's India instructions explicitly cover protecting both the power connection and the Ethernet interface. Choosing Wi-Fi does not remove the need to close the unused network connector properly.
| C520WS installation detail | Official information |
|---|---|
| Weather resistance | IP66 |
| Network choices | 2.4 GHz Wi-Fi or Ethernet |
| Ethernet interface | One 10/100 Mbps RJ45 port |
| Power | 9 V DC adapter |
| Maximum video resolution | 2560 x 1440 pixels |
| Local recording | microSD up to 512 GB, card purchased separately |
Protect the connections before fixing the bracket
A camera body and its cable connections are separate parts of the installation. For an Indian home placing the C520WS near an entrance, the useful question is not simply whether the lens can see the gate. It is also where the power connection and network tail will sit, and whether each can be assembled and inspected without stretching the cables.
TP-Link tells users powering an outdoor wired camera through an adapter to fit the waterproof seal around the power connectors. Its separate Ethernet instructions describe an assembly using sealing rings, a waterproof jacket and a fixing nut. Follow the illustrated sequence for the actual connector supplied, rather than treating the pieces as optional packaging.
The manufacturer's water-ingress guide also has a procedure for an unused Ethernet port. It calls for the waterproof plug and sealing components to close that interface. This is the easily missed step on a Wi-Fi installation: a network socket can remain physically exposed even though the household has decided not to run a data cable.
Before tightening the mount, place all the supplied attachments next to the installation diagram. Confirm which ones are already on the cable and which remain to be fitted. Keep the diagram available until the connections have been checked. That is a more useful handover record than a photograph showing only the camera mounted on the wall.
Choose the network route separately from power
The C520WS can use wireless networking or Ethernet. Its specification lists the adapter as the power source, so the presence of an Ethernet socket should not be read as a Power over Ethernet promise. The generic outdoor-camera guide discusses several camera types; use the C520WS specification to establish what this particular unit supports.
For a camera overlooking a gate, test the proposed position before final installation. Look at live video from the intended household network and check that the person handling the installation can access the connectors afterwards. A neat position that makes later inspection impractical deserves reconsideration before holes are drilled.
Homes planning the network at the same time can read our Gadget and accessory price guide. It concerns another product, but illustrates why the network at an entrance needs attention independently of the indoor router's location.
Check the actual view and recording
The C520WS is a powered pan-and-tilt camera. Movement can change what it is looking at, so test the intended entrance view rather than assuming that the coverage description means every direction appears in the same frame. Ask someone to follow the normal approach to the door while checking the picture.
Its published features include person, pet and vehicle detection without a detection subscription. That does not make local storage and cloud storage interchangeable. TP-Link lists an optional microSD card for local recording and a paid Tapo Care service for cloud storage. Establish which recording path is configured before relying on an alert.
After commissioning, try finding a test event in playback. Then check that the important part of the approach is visible in the saved clip. This is an installation acceptance check, not a claim that detection will recognise every event. Keep a note of the settings used so later changes can be traced.
Our Qubo InstaView supports 2.4 GHz and 5 GHz: plan the entrance link deals with storage decisions on another model. For household privacy decisions, see the separate Tapo C210 storage setup: check the 512 GB limit and recording mode; those controls must not be assumed to match the C520WS.
Keep the hardware paperwork together
TP-Link's India download page separates C520WS hardware versions and directs users to the relevant datasheet and instructions. Match the label on the camera before using a guide. Also check the mounting arrangement: the product page lists wall, ceiling and pole options, but says pole-mounting loops are purchased separately.
A useful final check covers the picture, playback, power connection, occupied or unused Ethernet interface and access for maintenance. Leave the supplied waterproofing instructions with the invoice. The IP66 label describes the product, while the installation guide explains the connector work needed around it.
Official sources: C520WS India specifications, water-ingress prevention guide and hardware-specific instructions.